Upgrading to Ubuntu 18.04 Bionic Beaver
TL;DR ✨
My first impressions of the Ubuntu 18.04 Bionic Beaver upgrade were more than good. The system felt polished and the upgrade itself was relatively painless.
If the upgrade fails, a usable backup matters more than optimism. The author points to an rsync-based workflow similar to the one in his older Linux backup article: http://radekvymazal.cz/zalohujeme-linux/
My first impressions of the Ubuntu 18.04 Bionic Beaver upgrade were more than good. The system felt polished and the upgrade itself was relatively painless.
The following sections present the process in practical terms.
🔎 1. Checks Before the Upgrade
Before you start, make sure everything important is backed up.
If the upgrade fails, a usable backup matters more than optimism. The author points to an rsync-based workflow similar to the one in his older Linux backup article:
http://radekvymazal.cz/zalohujeme-linux/
If you want to move to 18.04, you should already be on 16.04. So first bring your current installation fully up to date and only then attempt the next jump.
Before the upgrade itself, open Software & Updates, review your software sources, and verify that the standard Ubuntu sources are enabled.
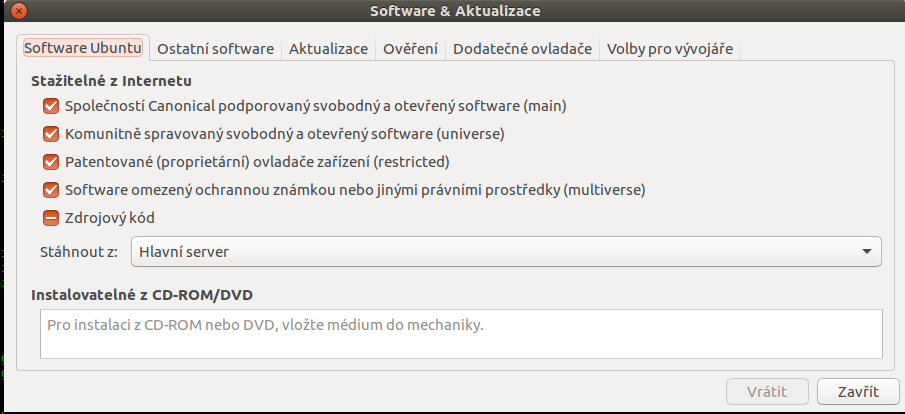
Then update the currently installed packages:
sudo apt update && sudo apt upgrade
🧰 2. Verify the Upgrade Tooling
Check that update-manager-core is installed:
sudo apt install update-manager-core
Then verify the release upgrader policy:
sudo nano /etc/update-manager/release-upgrades
The important line should be:
Prompt=lts
That tells Ubuntu to offer upgrades between LTS releases.
🚀 3. Start the Upgrade
If everything is ready, launch the upgrade:
sudo do-release-upgrade -d
If you get the message:
Upgrades to the development release are only available from the latest supported release
then first run:
sudo apt-get dist-upgrade
If you see the mirror-related error:
No valid mirror found
then the simplest fix is usually to switch the download source in Ubuntu Software to a different mirror.
⚠️ 4. What the Installer Will Ask You
Once the real upgrade starts, expect a long period of downloading and unpacking packages. From time to time the installer will interrupt you with configuration questions.
This is the part that makes beginners nervous, but most of the time the logic is straightforward.
For example, you may see a prompt like this for an existing config file:
Configuration file '/etc/sysctl.conf'
 ==> Modified since installation.
 ==> Distributor has shipped an updated version.
 What would you like to do about it?
If you do not know exactly why you changed that file before, the safest choice is usually to keep the currently installed local version.
That is basically the beginner rule here:
- if you know why a config was customized, preserve it
- if you do not know, do not randomly overwrite it
- if you are unsure, read the diff first
In the original flow, the installer also asked which display manager should remain active.
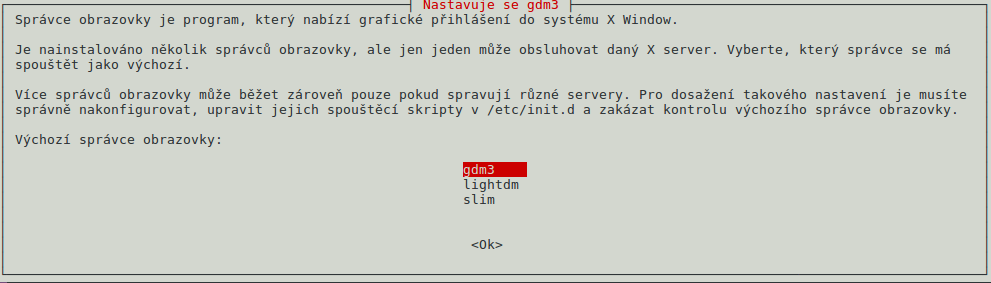
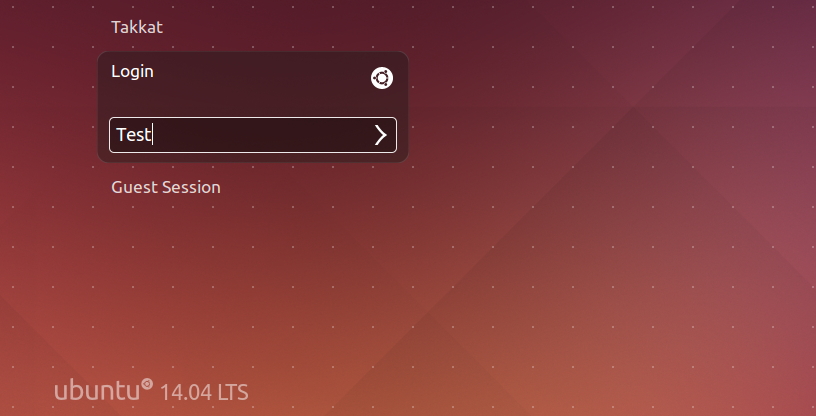
LightDM was the more traditional older look:
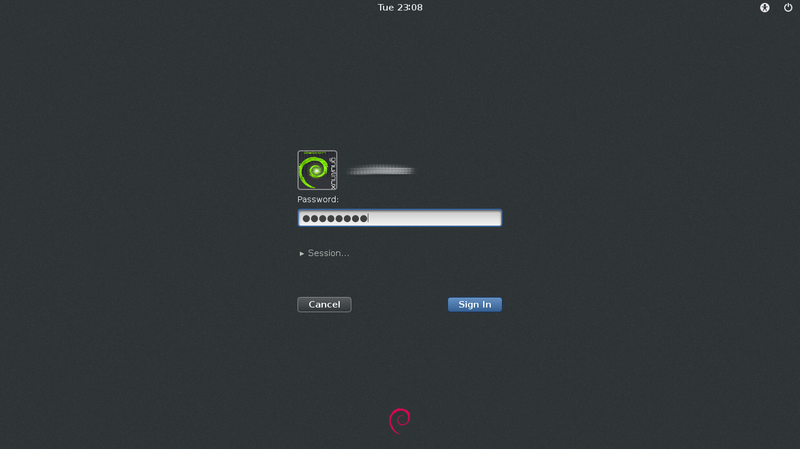
GDM matched the GNOME-oriented direction more closely:
Do not overthink that decision too much. You can change it later if needed.
You may also be asked about services such as OpenSSH:

The author's practical recommendation was to keep the local version if the service had already been tuned.
🔁 5. Finish and Reboot
At the end you should eventually see:
System upgrade is complete.

Restart required
Confirm the reboot and let the machine restart.
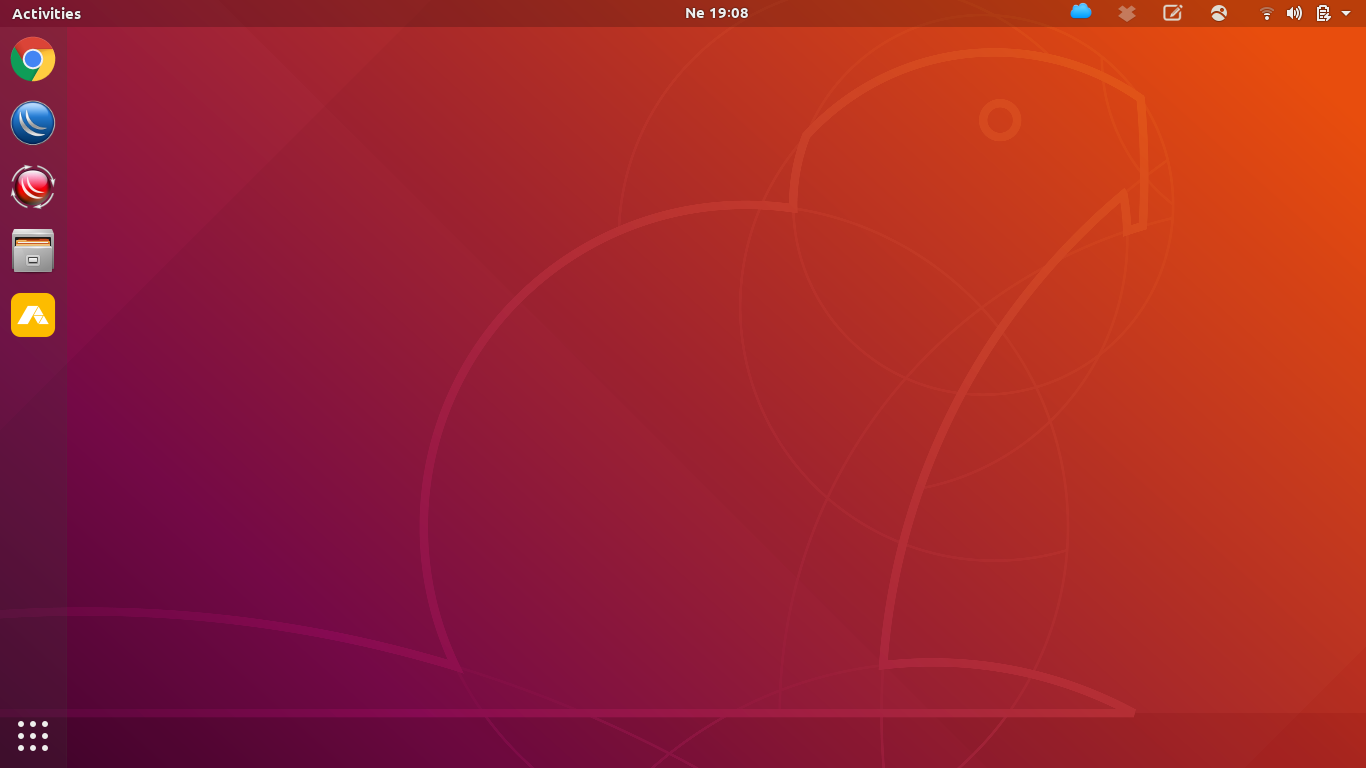
After booting into the new system, Ubuntu will show a short welcome flow and the refreshed desktop.
✅ 6. What to Do Right After the Upgrade
Before you start celebrating, do a few practical follow-up steps:
- Open Settings and adapt the system to your preferences.
- If the touchpad behavior annoys you, fix it immediately. Reverse scrolling is a classic one.
- Install GNOME Tweaks if you want finer desktop control.
- Review additional post-install checklists such as: - https://itsfoss.com/things-to-do-after-installing-ubuntu-18-04/ - https://linuxconfig.org/things-to-do-after-installing-ubuntu-18-04-bionic-beaver-linux
🧭 Final Note
What makes Linux upgrades unpleasant is rarely the command itself. The real problem is unprepared state:
- stale packages
- messy third-party repositories
- unknown config changes
- missing backups
If the system is clean and you know what you changed, the upgrade is usually manageable.